
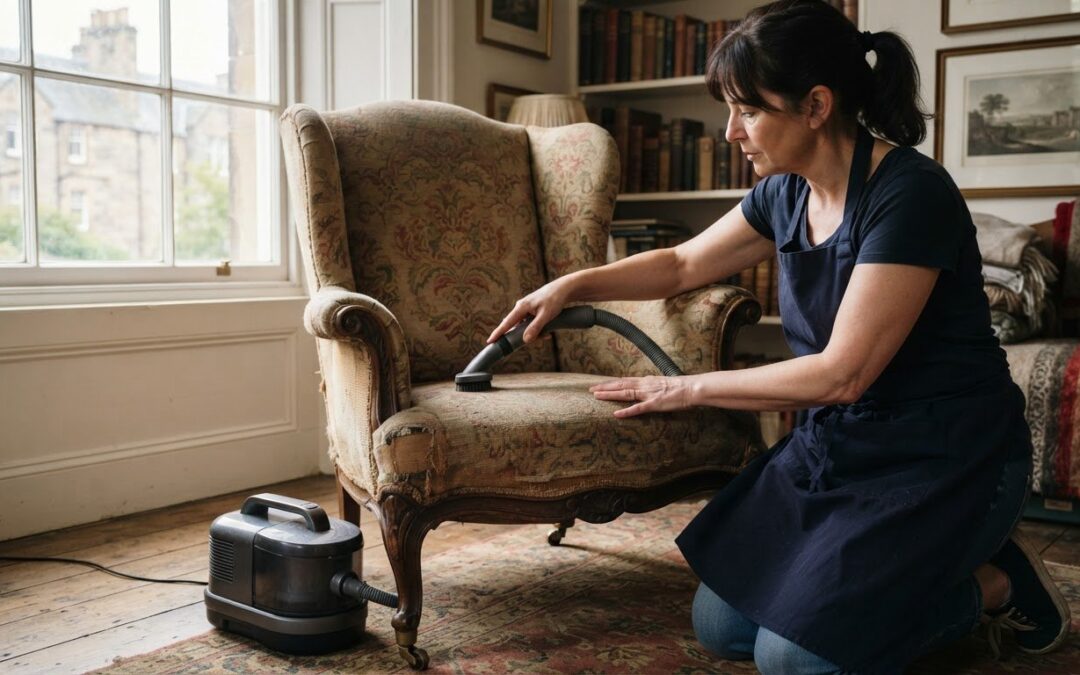
The safest antique upholstery cleaning in St Andrews begins with inspection, not stain remover. Check for tears, loose seams, worn fibres, fading, old repairs and marks, then treat the fabric and its construction as uncertain if you can’t identify them. Upholstered furniture over 75 years old is recommended for specialist cleaning, so a cautious approach matters.
It’s tempting to reach for a familiar household cleaner when a mark stands out. But antique fabrics and fillings can be delicate, and an unsuitable treatment may cause colour changes or damage. Gentle dust removal and careful stain care are safer starting points.
This guide explains what to inspect before cleaning, how to choose a suitable method and what to do when a spill or set-in stain needs attention. You’ll also learn when to stop rather than risk the fabric, so you can care for an antique piece with greater confidence.
Key Takeaways
- Inspect seams, fibres, fading, repairs and stains before choosing a cleaning method.
- For a fresh spill, blot gently with kitchen roll and avoid rubbing the fabric.
- Test any suitable method on a hidden area, and stop if colour or texture changes.
- Consider specialist cleaning for widespread soiling or upholstery over 75 years old.
Choosing between dusting, spot care and professional cleaning
Match your approach to the furniture’s condition, fabric and level of soiling. A restrained method helps protect fragile materials and keeps a small mark from becoming a larger problem.
-
Choose a Suitable Cleaning Approach
Start with regular dusting using a soft, dry microfibre cloth, and avoid pressure where fibres or trim feel weak. Dusting removes loose surface particles, but it won’t lift ingrained soil or most stains. For a small, fresh mark, consider cautious spot care only when you understand the material and can safely test a hidden area.
For widespread soiling, or when testing feels uncertain, professional cleaning is worth considering. Upholstered furniture over 75 years old is recommended for specialist cleaning. Keep antique pieces away from prolonged direct sunlight and smoking, and store them in a room with stable humidity to help protect fabric and wood. For homeowners designing room layouts to complement heirloom pieces with custom cabinetry and storage, insights from finestfurniturestudio.co.uk can help you plan bespoke fitted furniture suited to your space.
-
Compare Local Cleaner Reviews and Guarantees
When choosing an upholstery cleaner, look for clear explanations of how they assess delicate fabrics and handle concerns. Check what any stated guarantee covers and whether the cleaner is insured. Darcy Bespoke Cleaning is fully insured and offers a free re-clean if you’re unhappy with the results. Stain removal has a high success rate, but complete removal of every stain cannot be guaranteed.
For antique upholstery cleaning in St Andrews, focus on whether the cleaner explains the proposed method and its suitability for the piece. This gives you a more useful basis for comparison than broad claims about restoration.
-
Prepare Furniture for Professional Cleaning
Before a professional visit, make the furniture accessible and remove loose objects from the seat and surrounding area. Point out stains, visible repairs, loose seams and worn sections, and describe any previous cleaning or treatment you know about. These details help identify existing wear and areas that need particular care.
Don’t try to repair weak trim or apply a household stain remover before the assessment. If the piece has structural damage, point it out; cleaning addresses surface soil, not frame or spring repairs. Keep the furniture out of direct sunlight while awaiting care.
Removing stains from antique upholstery
Act promptly, but control pressure and moisture. Rubbing, excess water or an unsuitable stain remover can mark delicate fabric.
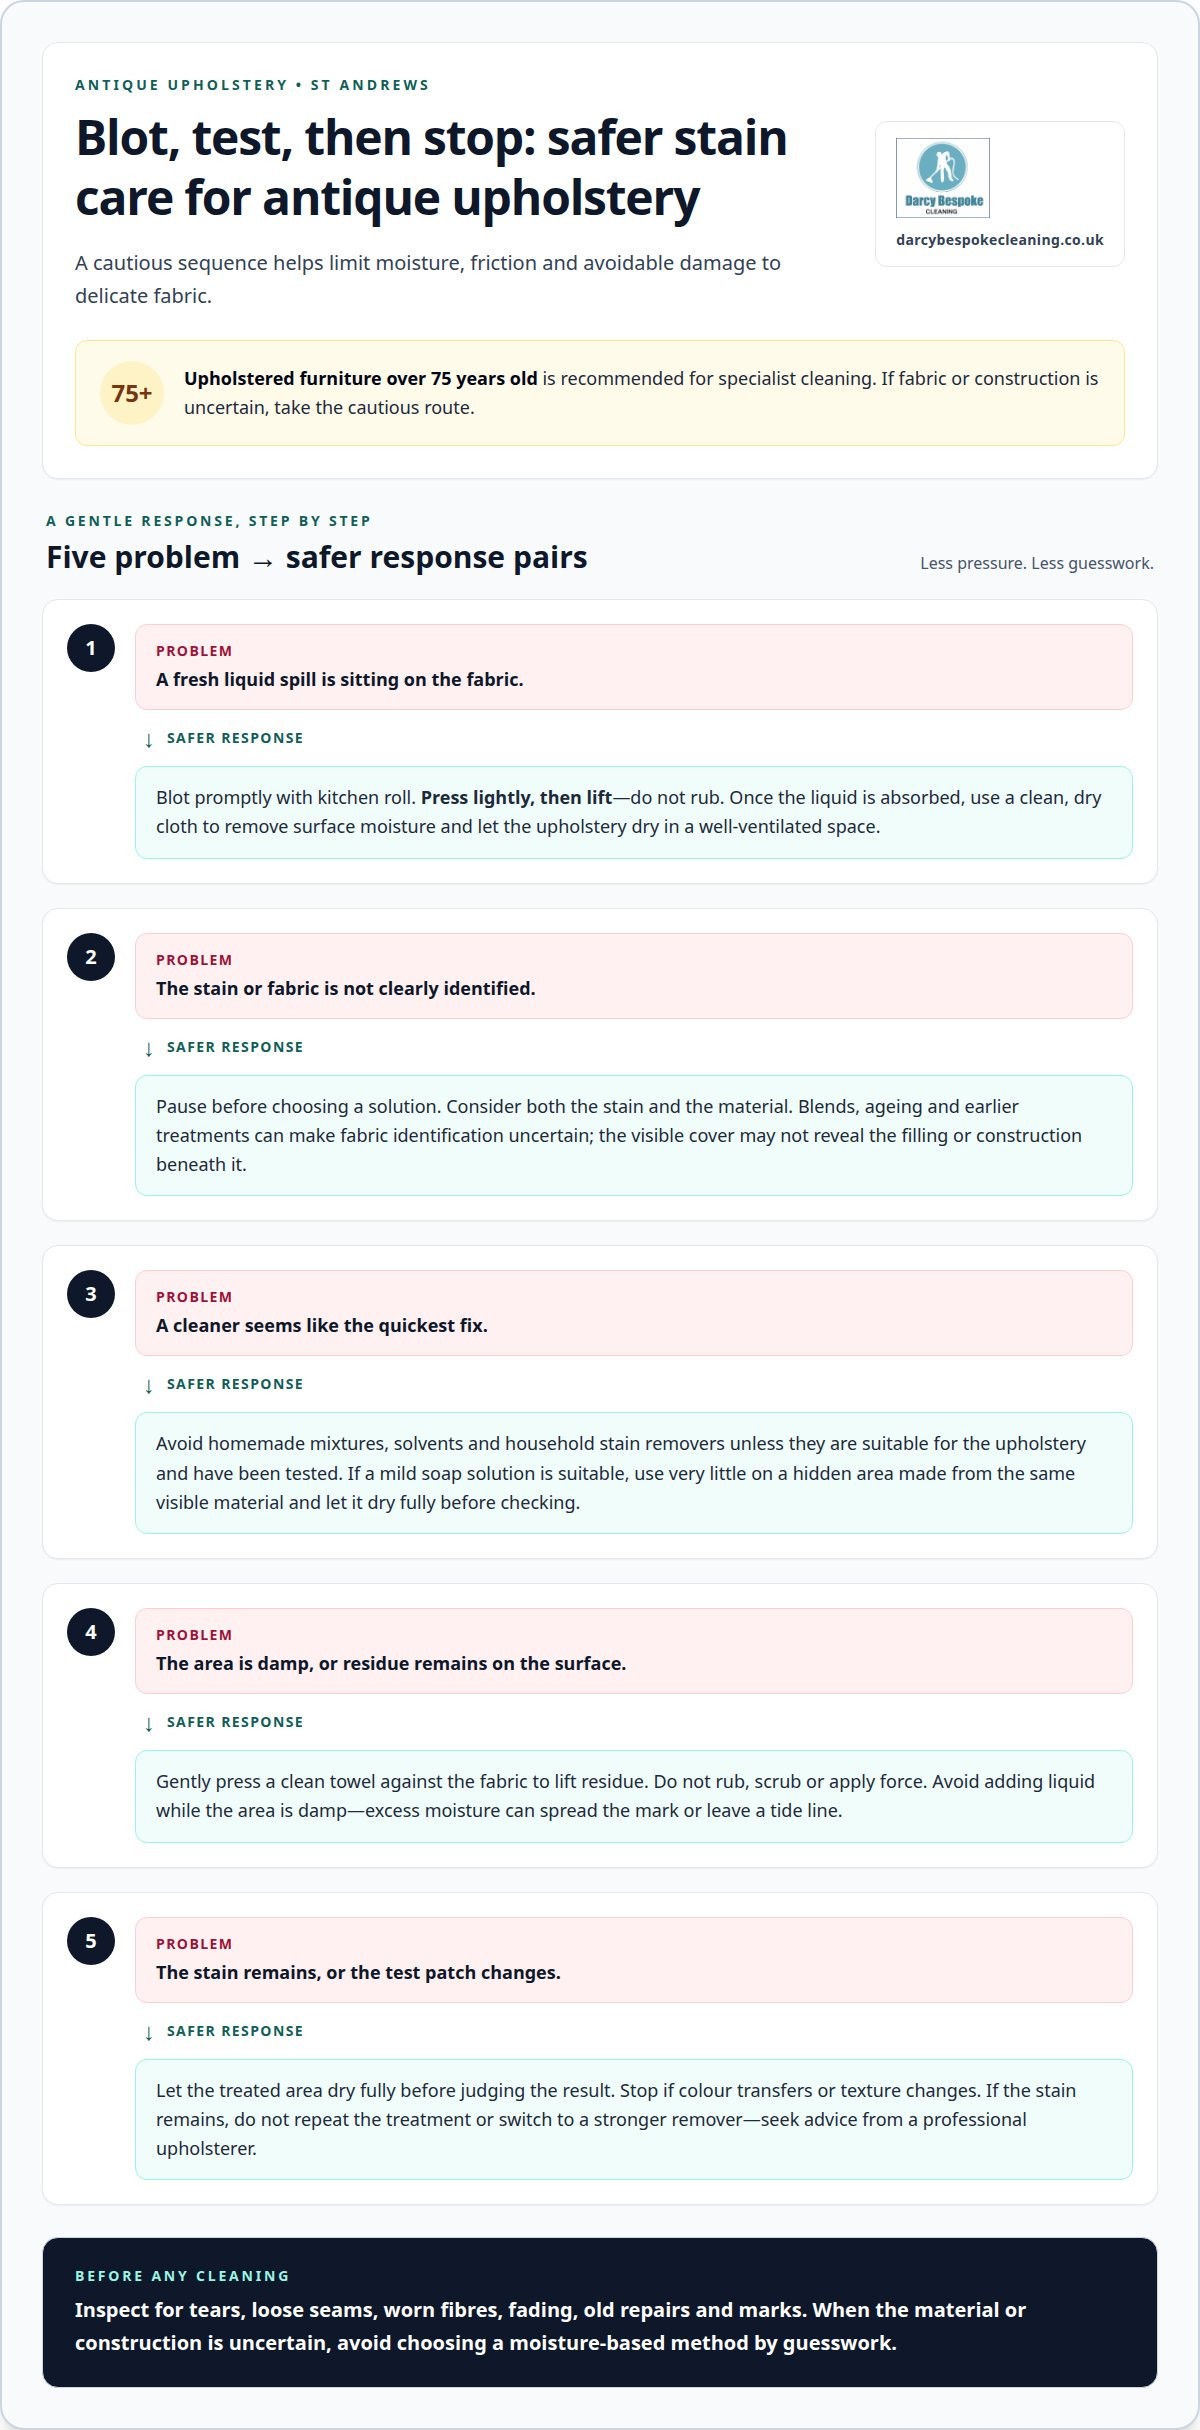
- For a fresh liquid spill, blot the excess as soon as possible with kitchen roll. Press lightly and lift the paper away; rubbing can spread the stain and disturb fragile fibres. Once the liquid is absorbed, use a clean, dry cloth to remove surface moisture. Let the upholstery dry in a well-ventilated space.
- Before applying a solution, identify the stain and consider the fabric. Don’t use homemade mixtures, solvents or household stain removers unless they’re suitable for the upholstery and have been tested. A product that works on modern fabric may alter an antique textile, its colour or finish.
- If a mild soap solution is suitable, test it discreetly on a hidden area made from the same visible material. Use very little, then let the test patch dry fully. Compare its colour and texture with the surrounding fabric in good light. Stop if colour transfers or the surface changes.
- To lift residue, gently press a clean towel against the fabric. Don’t rub, scrub or apply force: weakened fibres may stretch or tear. Avoid adding liquid while the area is damp, since excess moisture can spread the mark into nearby upholstery or leave a tide line.
- Wait until the treated area has dried before judging the result. If the stain remains, don’t repeat the treatment or switch to a stronger remover; seek advice from a professional upholsterer. For a cautious next step, explore professional stain removal treatment rather than experimenting with another recipe.
How can I identify the fabric and age of antique upholstery before cleaning?
- Start with a visual inspection in good light, checking the seat, back, arms and edges. Note tears, loose seams, worn fibres, fading, repairs and stains before cleaning. Photograph each area so you can describe its condition clearly and distinguish existing marks from later changes.
- Look closely at exposed fabric without pulling threads or lifting fixed trim. Appearance may suggest a material, but blends, ageing and old treatments can make identification uncertain. Traditional upholstery may contain horsehair, cotton batting or linen scrims beneath the visible cover, so the surface alone may not reveal how the piece is constructed.
- Gather clues about age from paperwork, labels, maker’s marks or family history associated with the furniture. Treat these as clues, not proof: a replacement cover may be newer than the frame, and previous repairs can combine materials from different periods. Avoid removing fabric or fittings to investigate.
- Check the construction only where it is already visible, such as an exposed edge or loose seam. Note whether the covering, stitching or filling appears repaired, worn or fragile. Don’t pull loose threads to test their strength, as this can enlarge a tear or disturb delicate fibres. Record any uncertainty rather than trying to force an identification.
- Use your inspection to decide how cautiously to proceed. If the fibres or construction remain unclear, treat them as uncertain and avoid choosing a moisture-based method by guesswork. Share your observations, photographs and any known history before cleaning begins. This gives the cleaner a clearer picture of the upholstery’s condition and helps avoid assumptions based on appearance alone.
What cleaning methods are safe for antique upholstery fabrics and fillings?
- Remove loose dust only when the upholstery feels stable. Use a soft-bristled vacuum attachment on low suction, holding it just above the fabric if the fibres look weak. Silk and linen need particular care because strong suction can pull at delicate threads. Avoid pressing the nozzle into seams, buttons or decorative trim.
- For stable fabric, gentle brushing or low-suction vacuuming can lift surface dust without adding moisture. Work in one direction and stop if the pile shifts, threads lift or trim moves. This dry approach won’t remove ingrained soil, but it avoids wetting fillings such as horsehair or cotton batting beneath the cover.
- Before using a moisture-based method, test a hidden area made from the same visible upholstery material. Apply only the intended method, then let the patch dry fully before comparing its colour and texture with nearby fabric. Stop immediately if colour transfers or the surface changes; don’t continue across the seat or back.
- If you’re considering dry extraction foam, test it first on an inconspicuous area and check for damage. Follow the test result rather than assuming foam suits every fabric or filling. After treatment, allow adequate ventilation; furniture cleaned with dry extraction foam may take up to ten hours to dry.
- Choose the least intrusive method that suits the material and condition, rather than treating every antique chair alike. Uncertain fibres, weak seams or historic repairs call for a cautious assessment before cleaning proceeds. For a sofa or armchair that needs considered care, arrange professional upholstery cleaning and share what you know about its fabric and construction.
Darcy Bespoke Cleaning
Darcy Bespoke Cleaning offers sofa and armchair cleaning in Fife for upholstered furniture that needs more than careful home dusting. If an antique piece has widespread soiling or a persistent stain, professional cleaning may be a sensible next step. Share what you know about its fabric, condition and previous treatments so the cleaning approach can be considered carefully. Stain removal has a high success rate, but not every stain can be removed completely.
For furniture with fragile fibres, loose seams or uncertain construction, avoid applying more products while deciding how to proceed. A cautious approach helps prevent an experimental treatment from adding damage to existing wear.
Contact Darcy Bespoke Cleaning to discuss your upholstered furniture and its cleaning needs.
Choose a considered next step for your antique
Caring for an antique piece also helps preserve its place in your home. If you’re unsure whether a mark needs attention, pause before trying another product; a considered assessment can help you choose care that suits the piece’s condition and use. For antique upholstery cleaning in St Andrews, contact Darcy Bespoke Cleaning to discuss the individual item rather than relying on a one-size-fits-all routine.
Darcy Bespoke Cleaning provides sofa cleaning, alongside domestic and commercial carpet cleaning in Fife. Share the upholstery’s known history and describe your concerns to help shape a useful discussion about the cleaning it needs.
Contact Darcy Bespoke Cleaning to discuss the next step for your antique upholstery. A thoughtful approach can help you care for a valued piece with confidence.
Frequently Asked Questions
What should you inspect before cleaning antique upholstery?
Inspect the whole piece, including areas beneath cushions and around piping, before choosing any treatment. Look for weakened stitching, exposed filling, old patches and differences in colour that may indicate previous repairs. Note each concern without pulling at the fabric. Upholstered furniture over 75 years old is recommended for specialist cleaning, so age is an important part of the decision.
Can vinegar or baking soda be used on antique upholstery?
Don’t apply vinegar, baking soda or another homemade mixture unless it’s suitable for the specific upholstery and has been tested. A familiar household ingredient can still affect delicate fibres, colour or surface texture. For example, powder sprinkled on a worn seat may leave residue caught in the weave. If the material is uncertain, avoid experimenting and seek appropriate advice.
How can you dry and protect the furniture afterwards?
Remove surface moisture promptly with a clean, dry cloth, then let the furniture dry in a well-ventilated space. Avoid prolonged direct sunlight, which can fade upholstery, and keep the room’s humidity stable to help protect the wooden structure. Avoid smoking around upholstered furniture, and don’t cover a damp piece, as this can restrict airflow around the fabric.
How can you recognise delicate or uncertain upholstery?
Look for thin, worn or easily disturbed fibres, fragile trim, faded areas and visible repairs. Silk and linen are delicate materials that need low-suction dust removal. Traditional fillings may include horsehair, cotton batting or linen scrims, which aren’t always identifiable from the surface. If you can’t identify the fabric or construction, treat it as uncertain rather than testing its strength.
How do you carry out a cautious spot test?
Choose a concealed patch made from the same visible upholstery material, then apply a small amount of the intended method. Let the patch dry completely before comparing its colour and texture with nearby fabric. Check for colour transfer or a change to the surface. If either occurs, stop and don’t extend the treatment to a more visible area.
How should you remove loose dust and deal with a small spill?
For stable upholstery, use a soft-bristled vacuum attachment on low suction without pressing into seams or decorative trim. If liquid spills, blot the excess with kitchen roll, then lift surface moisture with a clean, dry cloth. Don’t rub the spot or force moisture into the filling. Let the area dry with good airflow before assessing the mark.